- Remove the protective film off the acrylic sheet if it is opaque.
- Open up Silhouette Cameo. Use the "zoom in and out using mouse" icon to adjust the zoom so that an inch on the screen is an actual inch. Hold a ruler up to the screen and measure. I find measuring a big distance, such as 8 inches, works best. Once this has been done, whatever shape you make on the screen is true to life size.
- Find a similar shape in your library. It doesn't need to be perfect because you can change it a bit, but if you're doing a bracket, make sure it has its bumps in the right place. Weld it to a rectangle if you need to modify it a bit. In my case, I have a shape that's a rectangle with a 4-bump scallop on one side. If you have Designer Edition, you will find it a little easier to make your shape. Start with a rectangle and use the Serrated 1 knife. I made the rectangle about an inch bigger on each side than my shape.
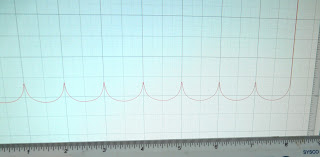
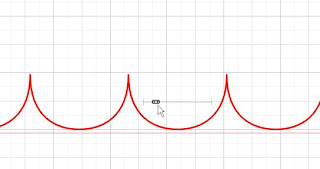
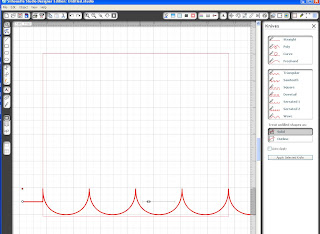
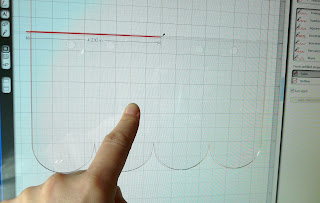
- Make sure to turn the Auto Apply on the knife "Off" so that you can modify it a bit. I selected the Serrated 1 knife and cut across. Then I used the "stretcher" feature to adjust the cut so that there are 4 bumps only (if this were science class, and it was a wave, it would be the frequency of the wave). You drag the little grey button left and right to change the frequency. It's not crucial that the width matches your shape exactly at this point, but make it close.
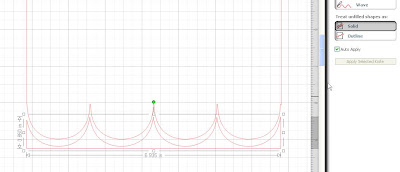
- Next, adjust the depth of the wave using this other feature -- click on the little red dot and drag it up and down to see what it does in your Silhouette Studio. You drag it up and down until it is the same depth as your scallops on your shape. This is more important to get right. You still have not yet applied your knife.
- Stretch your rectangle so that it fits the scallops in width. Now you're ready to apply your knife. Select your knife line and then click on "Apply Selected Knife." Pull away the cut piece and delete it.
- I missed a bit, so I'll go back with my knife and cut off a bit. You could also use "edit points" to fix this instead. This is a little nitpicky.... you could just cut it with scissors afterwards if you wanted.
- You can use the "scale" icon to bring up the options on the right to set the exact width dimensions. You'll want to avoid using "Lock Aspect Ratio" or the height adjustment because this will mess up the depth of the scallop. I went and set mine to a width of 8 inches.
- Trim the top side so the fit is right.
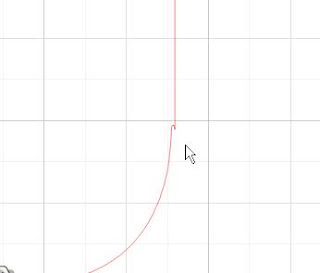
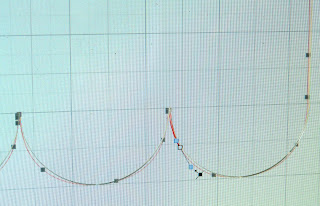
- Next, line your shape back up to the screen and go in and edit points to line up to an exact match to your shape. You can add little circles for your hole punches too.
- Send to Silhouette and cut.
Here are a few pics of a bracket shape I did yesterday:
I'd say "easy peasy," but it's not really to be honest. You need to be comfortable / enjoy messing around with it to be successful here. Having a good understanding of editting points and curved lines will help make your shape perfect. That said, it really helps make an album look more finished.
If you're more low tech, you can actually just trace your shape and cut it out with scissors. That might be faster. And would make for a shorter blog post. :)
Anyway, if you want to give this a try and have any questions, let me know. I'm happy to help.




Actually an even easier way is to take the acrylic shape, trace it with a fine point sharpie black marker on white paper. Then scan it into your computer and import into studio. Now you can auto trace the line and just select the inside part of the shape.
ReplyDelete